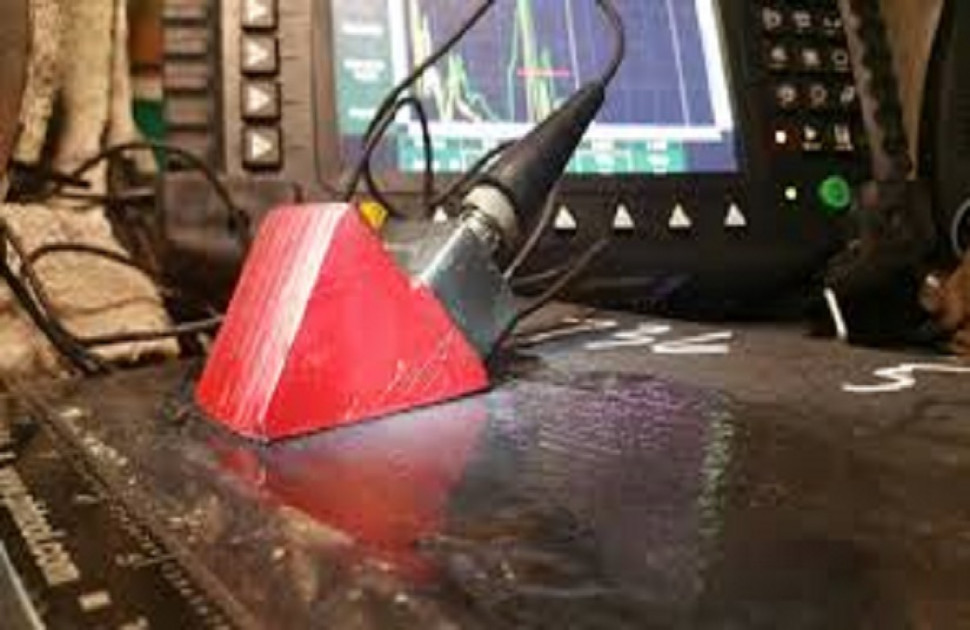
In manual ultrasonic inspection, the most commonly understood practice for length sizing discontinuities larger than the beam width is the 6 dB drop method. However, peaking the signal then moving laterally to 50% signal height can often under size the length. The result is repairing just the middle "really bad part" of a flaw, leaving two smaller discontinuities at the ends.
The 6 dB drop method is best suited for ideal reflectors like side drilled holes in reference blocks and tends to fall apart when applied to real, irregularly shaped discontinuities. Unfortunately, the 6 dB drop method is often followed with blind faith regardless of discontinuity type, without an understanding of it's limitations or acceptance criteria limits below "the peak" area. As such, discontinuities are easily undersized, resulting in multiple repairs, delays, and the question "how did we miss that the first time?". Not good for the optics of ultrasonic inspections.
As an example, consider a flaw (above) in a 3/4" thick butt weld (non-tubular, cyclic service) with a "d" rating of -8 dB. This corresponds to a discontinuity of Class A, which for a 3/4" weld has a "d' limit of +5 dB and lower.
To find the extremities, the probe would be moved laterally until the "d" rating was reduced not 6 dB below the peak of -8 dB, but to 6 dB below the Class A limit of +5 dB (which would be +5 dB minus 6 dB = 11 dB). If to you, +5 minus 6 seems like it should be negative 1, keep in mind that we're in the wonderful world of attenuation calculations where everything is backwards (i.e. "low score wins"!). A rating of +11 dB is well outside the boundaries for all possible classes and ensures that the entire flaw is captured.
Interestingly, the AWS code accounts (somewhat) for the possibility of under sizing flaws by requiring the 6 dB to be subtracted not from the peak signal, but from the "rating for the applicable discontinuity classification" (see 6.29.2 in the 2015 edition of AWS D1.1). However, even this enhanced method fails when the span between the maximum and minimum classes exceeds 6 dB. Take for instance the same flaw in a 2-1/2" thick butt weld. At 70 degrees, there is an 8 dB span between Class A and Class D. Subtracting 6 dB from the peak level of a Class A may leave some flaw remaining at the extremities if it exceeds the allowable length for the discontinuity class. Again, all you did was cut the middle out and make one big discontinuity into two little ones.
I teach technicians to recognize the limitations of the method and recommend chasing the flaw extremities all the way out to a Class D. The only exception would be if leaving some small, allowable length of a Class B or Class C discontinuity is necessary due to access limitations for repair or similar.


