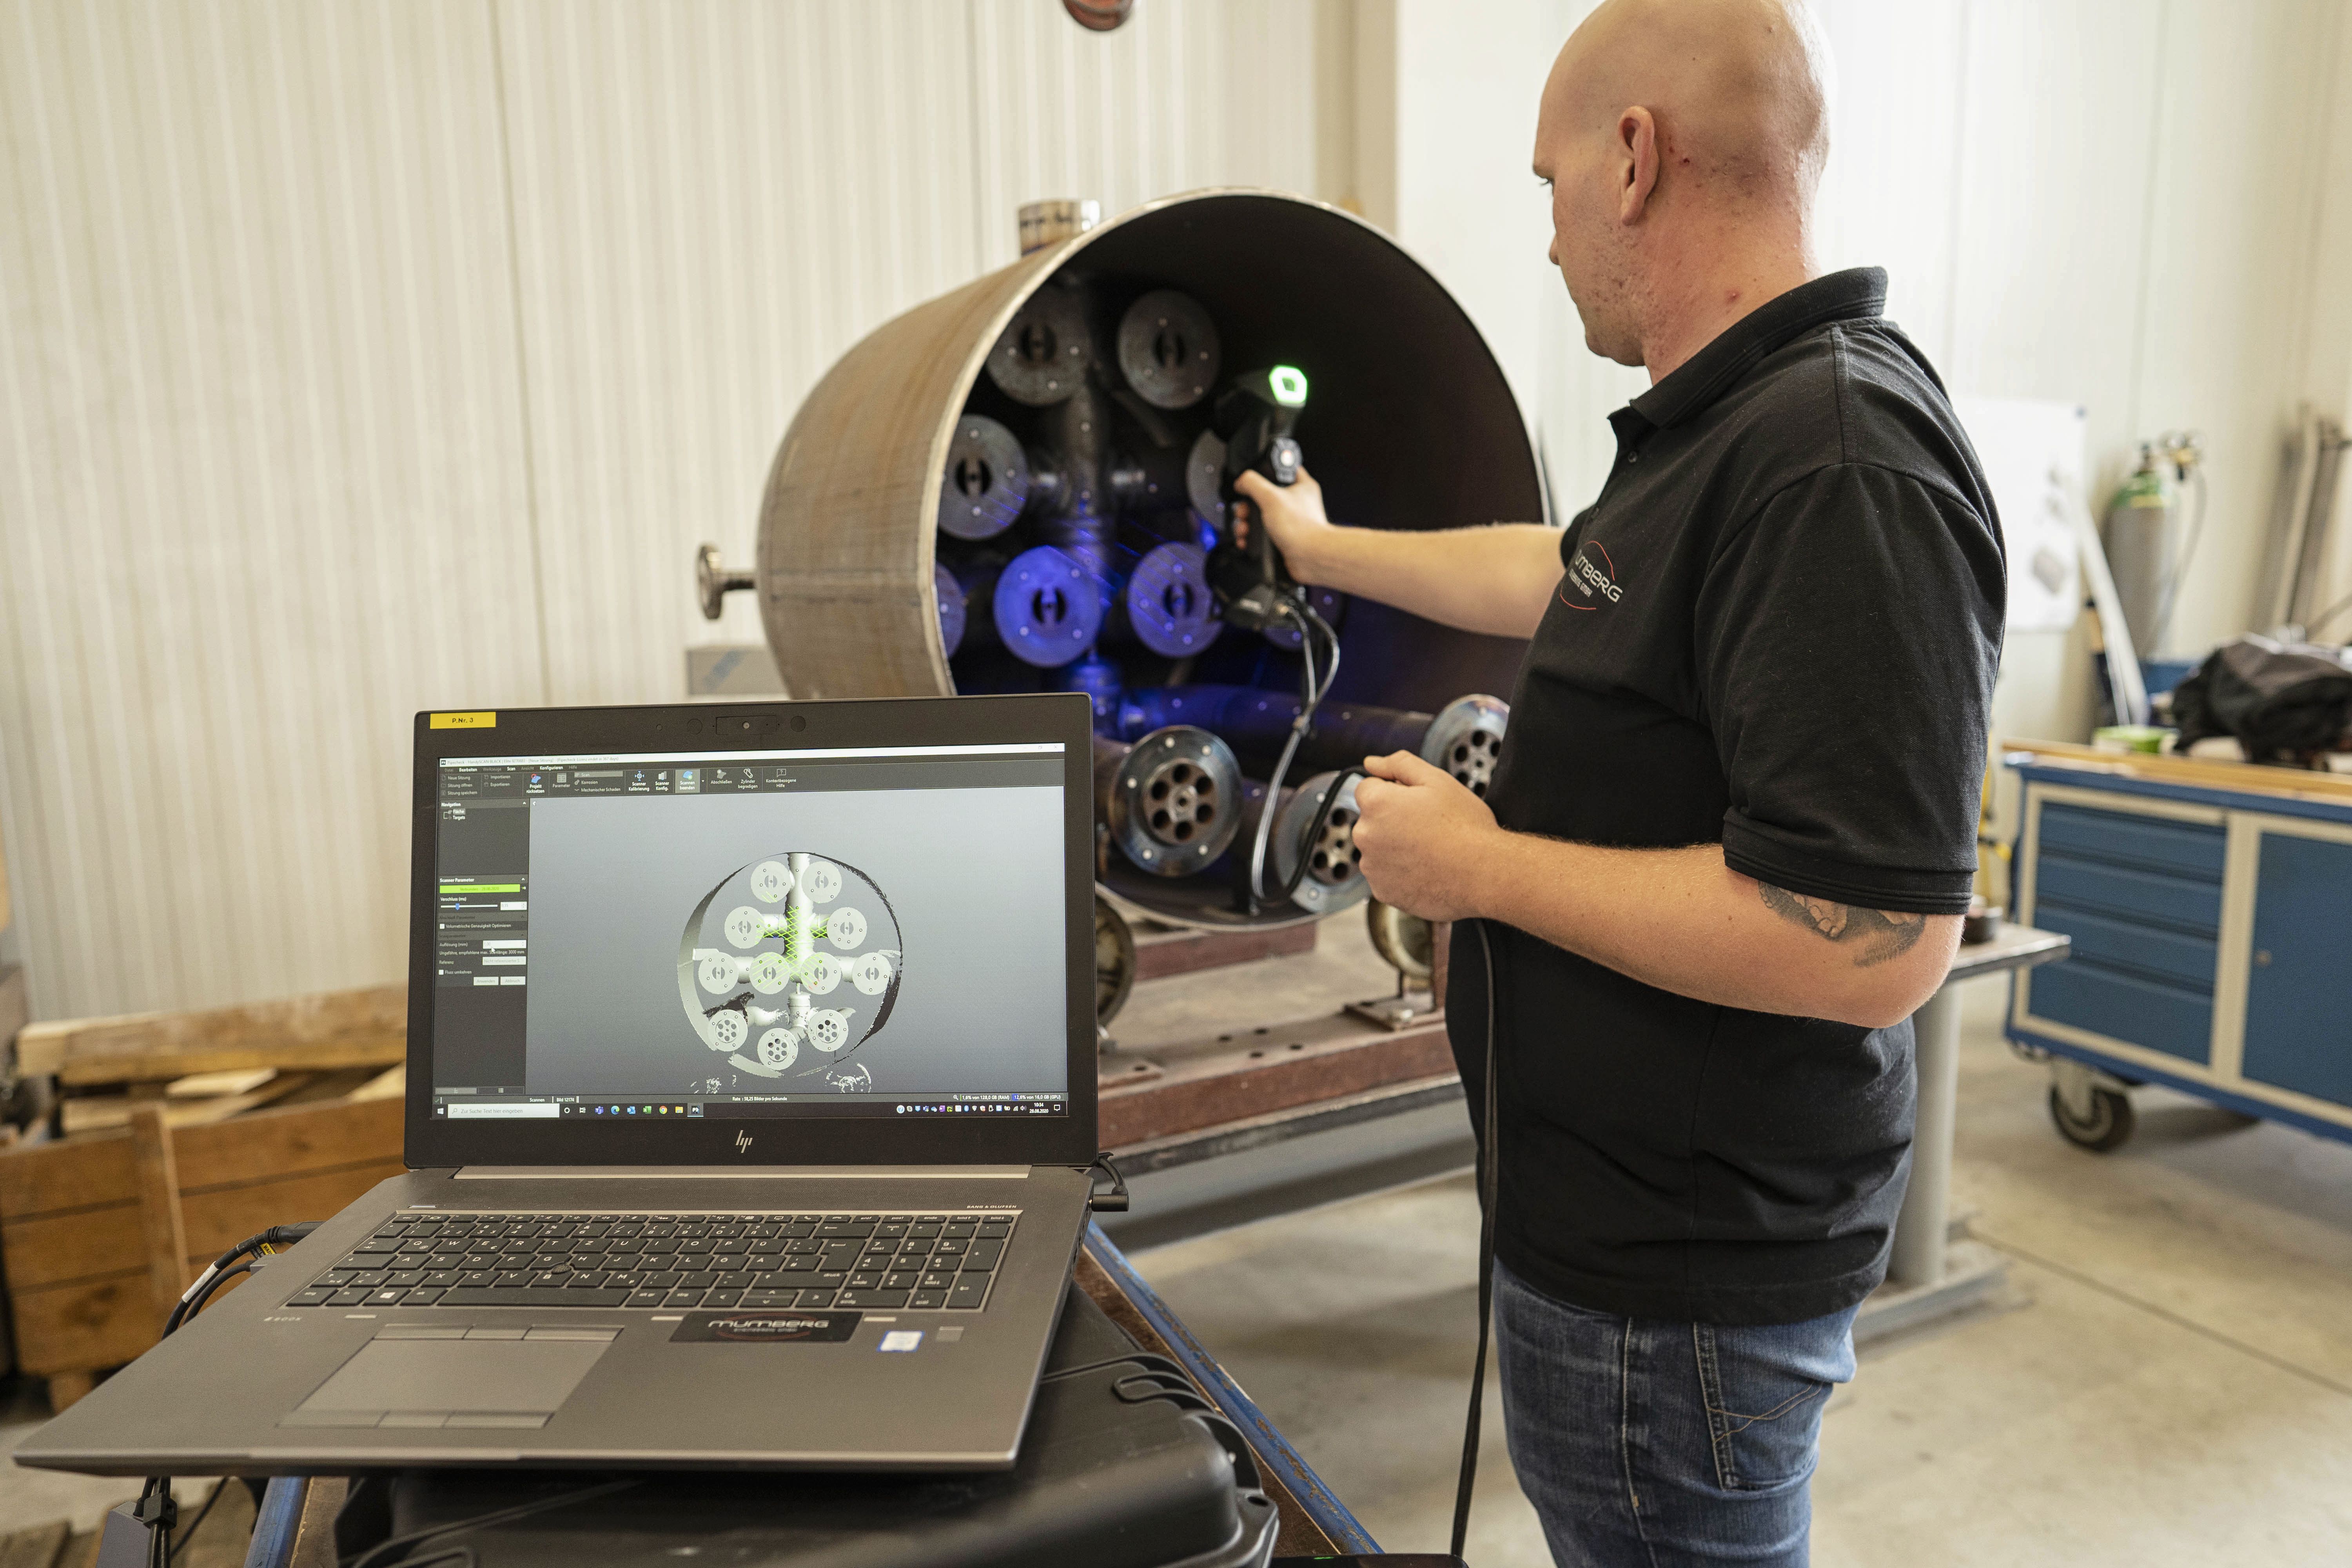
When power plants conduct overhauls and ad hoc maintenance, scheduled inspections need to be carefully planned out to ensure that downtimes are kept to a minimum and that operations can resume to full capacity as quickly as possible. To accelerate inspection processes during overhauls, forward-thinking power plant maintenance teams are increasingly combining traditional ultrasonic testing techniques with 3D scanning solutions in order to more quickly and accurately inspect pipe damage.
Mumberg Engineering GmbH, a German-based company that offers engineering services and maintenance work for power plants and renewable energy facilities, has adopted this two-pronged approach. In early 2021, the company acquired the HandySCAN 3D ǀ BLACK Series, a metrology-grade NDT 3D scanner, and Pipecheck, an advanced pipeline integrity assessment software. Inspection teams use this turnkey solution to measure the degradation of pipes and pipe wall thicknesses.
How 3D scanning works to conduct pipeline measurements
Depending on the power plant overhaul or maintenance project, the sizes of the pipe surfaces and lines to be scanned are always different. The largest area Mumberg Engineering had to measure thus far was around 28 m² with a scan resolution of 1 mm.
This is how the Mumberg team normally carries out a 3D scanning process:
- The surface to be scanned must be cleaned to prevent any dust or debris impacting the inspection.
- The targets are applied.
- The parameters for the area to be scanned are entered in Pipecheck, such as the pipe diameter and the actual wall thickness.
- An operator scans the targeted area.
- When the scanning work has been completed, inspection teams can determine the erosion and corrosion on each individual pipe and provide customers with critical information about each pipe—especially the remaining wall thickness—and identify which ones have reached the point of emaciation.
Mumberg Engineering has also used the HandySCAN 3D scanner in conjunction with ultrasonic testing techniques. For example, when inspecting a boiler tube, the ultrasonic tests are done for large areas to find weak spots. Then, for both the identified weak spots and smaller areas, the HandySCAN 3D ǀ BLACK Series is used to speed up the inspection process.

Advantages of the HandySCAN 3D and Pipecheck for power plants
Using HandySCAN 3D ǀ BLACK Series and Pipecheck software is a safe solution that enables NDT teams to quickly access and assess a highly accurate 3D visualization of a pipe’s internal and external surfaces, which is key to saving on inspection times and boosting operational capacity.
With up to 1,500,000 measurements per second and up to 0.025 mm (0.0009 in) accuracy, HandySCAN 3D and Pipecheck provide assessment capabilities—with fewer targets—for different types of pipeline damage (corrosion, mechanical damage, radius, wrinkle, ovality, etc.), in-line inspection (ILI) correlations, and ultrasonic testing (UT) data import for a mixed analysis. In addition, because operators of any skill level can use the combo in any harsh environment, field deployments can be carried out much more quickly.
Mumberg Engineering’s inspection team appreciates the advantages of the Creaform solution: “With this system, we can carry out measurements over the entire pipe length and process them in the shortest possible time. Well-founded decisions can then be made based on our results. Without the Creaform system, projects on this scale would not have been possible. With an ultrasonic measuring device, you can measure selectively, but it would not have been possible to get as much data in a short time as with the HandySCAN 3D ǀ BLACK Series and Pipecheck. By using these 3D measurement technologies, we have increased our capacity to take on more jobs, win over more customers, offer a wider range of services.”
###
About Mumberg Engineering GmbH
Mumberg Engineering GmbH was founded in November 2016. Mumberg Engineering GmbH is active in the field of conventional power plants in Germany and neighboring German-speaking countries. During the overhaul of power plants, they offer wall thickness measurements, with this new 3D scanner approach as well as conventional ultrasound, and provide technical documentation, inspection reporting and inspection support. Customers include EEW Energy from Waste, IWB Industrielle Werke Basel, MVV Enamic Korbach GmbH and B + T Horn Energie GmbH.


